

จากครั้งที่แล้วได้บอกวิธีการติดตั้ง SonarQube ผ่าน docker-compose ไปแล้ว

แต่มันจะเรียกผ่าน ip address ในการใช้งานจริงผมอยากให้มันเรียกผ่าน https://sonar.domain.com ฉะนั้นเราจำเป็นต้องใช้ nginx มาทำ reverse proxy เพื่อสามารถกำหนดโดเมนและใส่ ssl ได้
โดยเงื่อนไขของผมก็คือ
- โดเมนอยู่บน Cloudflare
- ssl file ได้มาจาก Cloudflare
ฉะนั้นขั้นตอนในบทความนี้อยู่ในพื้นฐานของ nginx reverse proxy + cloudflare
เตรียมไฟล์ nginx config
โครงสร้างของ SonarQube จะเป็นดังนี้
.
├── docker-compose.yml
├── nginx/
│   ├── common.conf
│   └── sonarqube.conf
└── ssl/
ไฟล์ common.conf
sendfile off;
# charset of "Content-Type" response header field
charset utf-8;
client_max_body_size 50M;
client_body_timeout 1800s;
client_header_timeout 1800s;
# log settings
access_log /dev/stdout;
error_log  /dev/stderr error;
# don't send the nginx version number in error pages and Server header
server_tokens off;

gzip on;
gzip_proxied any;
gzip_comp_level 4;
gzip_types text/css application/javascript image/svg+xml;

#Improve Secure
add_header Strict-Transport-Security "max-age=31536000; includeSubDomains; preload";
add_header X-Frame-Options DENY;
ไฟล์ sonarqube.conf
server {
  listen 80;
  server_name sonar.domain.com;
  return 301 https://$server_name$request_uri;
}

server {
  listen 443 ssl;
  server_name sonar.domain.com;
  ssl_certificate /etc/nginx/ssl/cert.pem;
  ssl_certificate_key /etc/nginx/ssl/key.pem;
  ssl_client_certificate /etc/nginx/ssl/cloudflare.crt;
  ssl_verify_client on;
  include includes/common.conf;
  proxy_buffers 16 64k;
  proxy_buffer_size 128k;

  location / {
    proxy_pass  http://sonarqube:9000;
    proxy_set_header        Host $host:$server_port;
    proxy_set_header        X-Real-IP $remote_addr;
    proxy_set_header        X-Forwarded-For $proxy_add_x_forwarded_for;
    proxy_set_header        X-Forwarded-Proto $scheme;
    # Required for new HTTP-based CLI
    proxy_http_version 1.1;
    proxy_request_buffering off;
    proxy_buffering off; # Required for HTTP-based CLI to work over SSL
  }
}
และ ssl/ ให้เรานำไฟล์ ssl มาใส่ไว้ที่นี่
.
└── ssl/
    ├── cert.pem
    ├── key.pem
    └── cloudflare.crt
เพิ่ม nginx service
ทำการเพิ่ม sonarquge-proxy ในไฟล์ docker-compose.yaml
services:
  sonarqube:
    image: sonarqube:10-community
    hostname: sonarqube
    container_name: sonarqube
    depends_on:
      - sonarqube-db
    environment:
      SONAR_JDBC_URL: jdbc:postgresql://sonarqube-db:5432/sonar
      SONAR_JDBC_USERNAME: sonar
      SONAR_JDBC_PASSWORD: sonar
      SONAR_WEB_CONTEXT: "/"
    volumes:
      - sonarqube_data:/opt/sonarqube/data
      - sonarqube_extensions:/opt/sonarqube/extensions
      - sonarqube_logs:/opt/sonarqube/logs
    restart: always
    logging:
      driver: "json-file"
      options:
        max-file: 5
        max-size: 50m
    networks:
      - proxy

  sonarqube-db:
    image: postgres:15.2-alpine3.17
    hostname: postgresql
    container_name: postgresql
    environment:
      POSTGRES_USER: sonar
      POSTGRES_PASSWORD: sonar
      POSTGRES_DB: sonar
    volumes:
      - postgresql:/var/lib/postgresql
      - postgresql_data:/var/lib/postgresql/data
    restart: always
    logging:
      driver: "json-file"
      options:
        max-file: 5
        max-size: 50m
    networks:
      - proxy

  sonarqube-proxy:
    image: nginx:alpine
    hostname: proxy
    container_name: proxy
    ports:
      - 80:80
      - 443:443
    volumes:
      - ./ssl:/etc/nginx/ssl
      - ./nginx/common.conf:/etc/nginx/includes/common.conf
      - ./nginx/sonarqube.conf:/etc/nginx/conf.d/sonarqube.conf
    restart: always
    logging:
      driver: "json-file"
      options:
        max-file: 5
        max-size: 50m
    networks:
      - proxy

volumes:
  sonarqube_data:
  sonarqube_extensions:
  sonarqube_logs:
  postgresql:
  postgresql_data:

networks:
  proxy:
    external: true
    name: sonarqube
จากนั้นพิมพ์คำสั่ง docker compose up -d เพื่อให้มี nginx เพิ่มเข้ามา
แล้วลองเข้า https://sonar.domain.com ก็จะได้หน้าเว็บมาปกติ
ตั้งค่า Cloudflare เพิ่มเติม
หากใครเข้ามาเจอแบบนี้
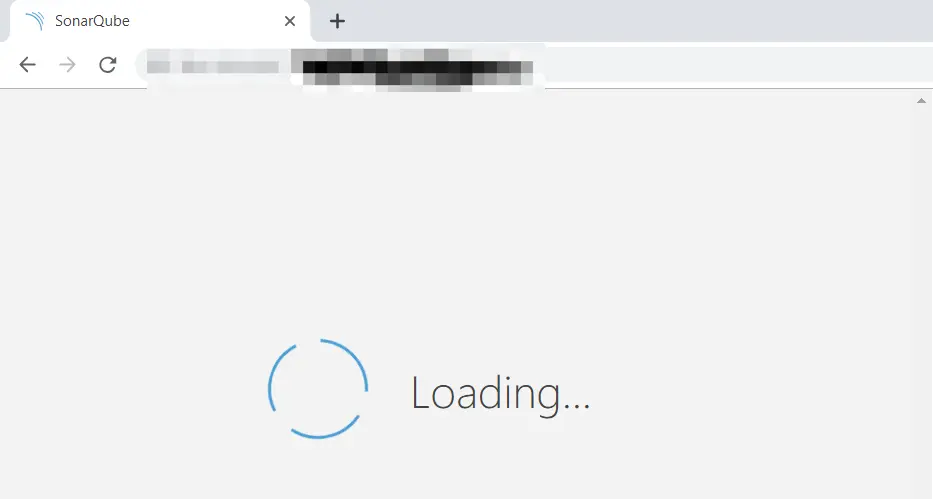
ให้มาแก้ไขผ่าน Cloudflare ด้วยการ Cache Bypass โดยไปยังหน้า Page rules จากนั้นกำหนดส่วนของ url เป็น sonar.domain.com/* ตามรูปล่าง
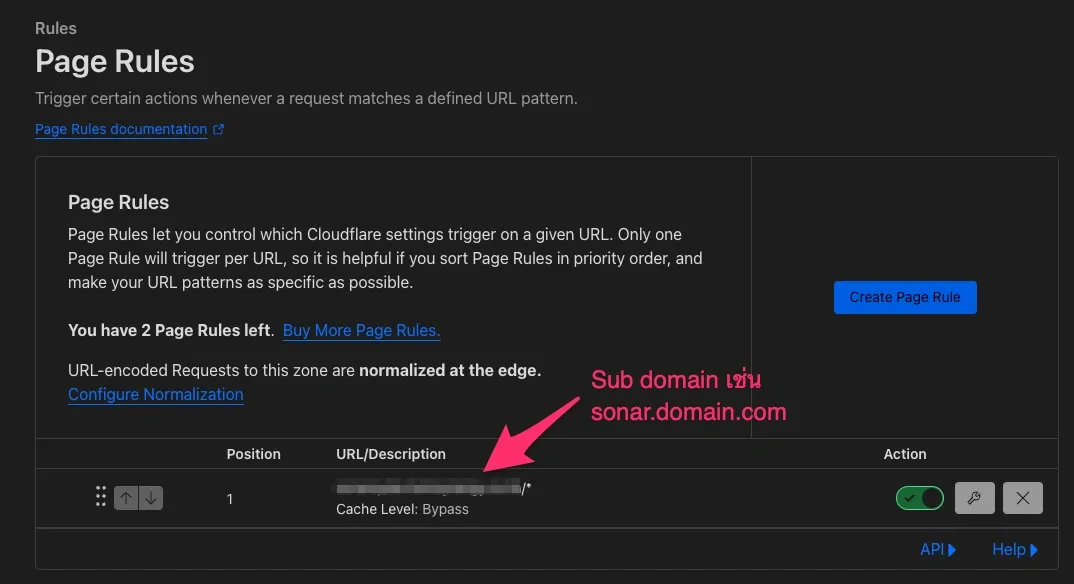
เพียงเท่านี้หน้าเว็บ SonarQube ก็จะสามารถเข้าผ่าน https ได้แล้ว 😄
Thanks: https://community.sonarsource.com/t/sonarqube-community-10-4-1-doesnt-load-when-behind-nginx-reverse-proxy-cloudflare/111896/1